Showing posts with label flooring. Show all posts
Friday, January 11, 2013
Wednesday, February 15, 2012
Today I began a tile job for a friend of mine. I had to rip out the carpet and linoleum prior to putting down hard backer board. The photos illustrate the current progress.
Today I got around to laying the tile. The way the items in the room are situated I had to lay the tiles beneath the stove, refrigerator, and dishwasher and grout in so that the items can be moved back into their holes. Then I will be able to finish tiling the other half of the room. The photos show today's current progress.
The following photos are of the full tile floor with grout and cleaned up. The only remaining task is to seal the grout and replace the trim molding.
Wednesday, July 20, 2011
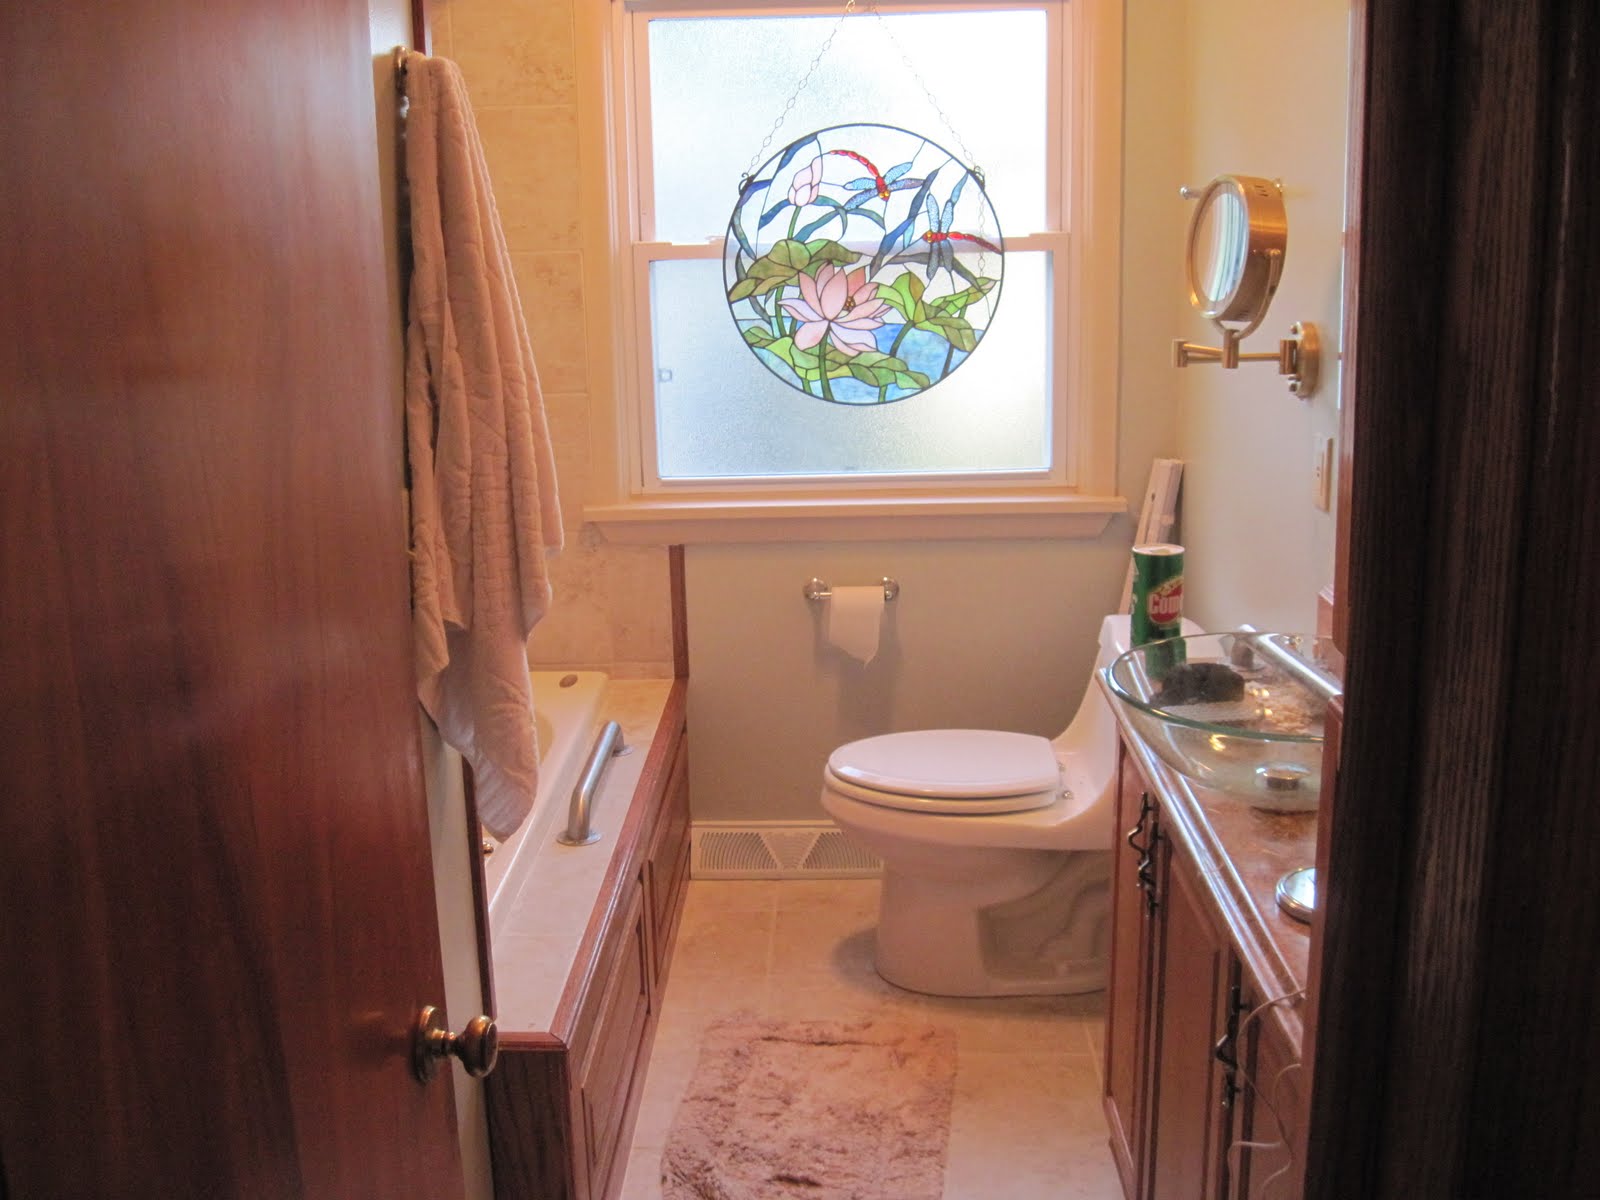
This tile job was how the work should of been performed the first time. The home owner had contracted this bathroom out to a renovation contractor that stuck flooring sticky tiles on the interior of the shower. They did not last long and eventually she wanted the job performed correctly. The photo's show the current progress. The bathroom is very narrow and its hard to get the camera to capture all of the work that went into this project.
Saturday, June 25, 2011
Today I began installing the electric work boxes and hung the new drywall ceiling and taped coated it. The pictures show my current progress.
Wednesday, June 15, 2011
Seeings how our new found love is old hardwood floors refinished the wife and I decided to go ahead and finish the upstairs of this old house. The pictures show the during and final with poly urethane added. The old floor had some old dirty carpet and underneath someone had painted the wood floors blue. We also decided to tile the entrance way based upon the climate we live in. We get some heavy winters here and hard wood floors with snowy boots didn't make a lot of sense to us. So we added some porcelain tile to the mix. We also cut parts of the floor up in order to insulate the ceiling cavity. The home is ballooned framed and for those of you that understand what that means there is a constant air draft running through the framing and joist cavities. The house also is heated by three furnaces so everything we are doing to this old home is for efficiency standards. I will be adding some trim to accent the areas around the tile and also the area that enters into the kitchen. We may decide to stain all the other pine trim in the room, but for now we deserve a much needed rest.
Wednesday, June 8, 2011
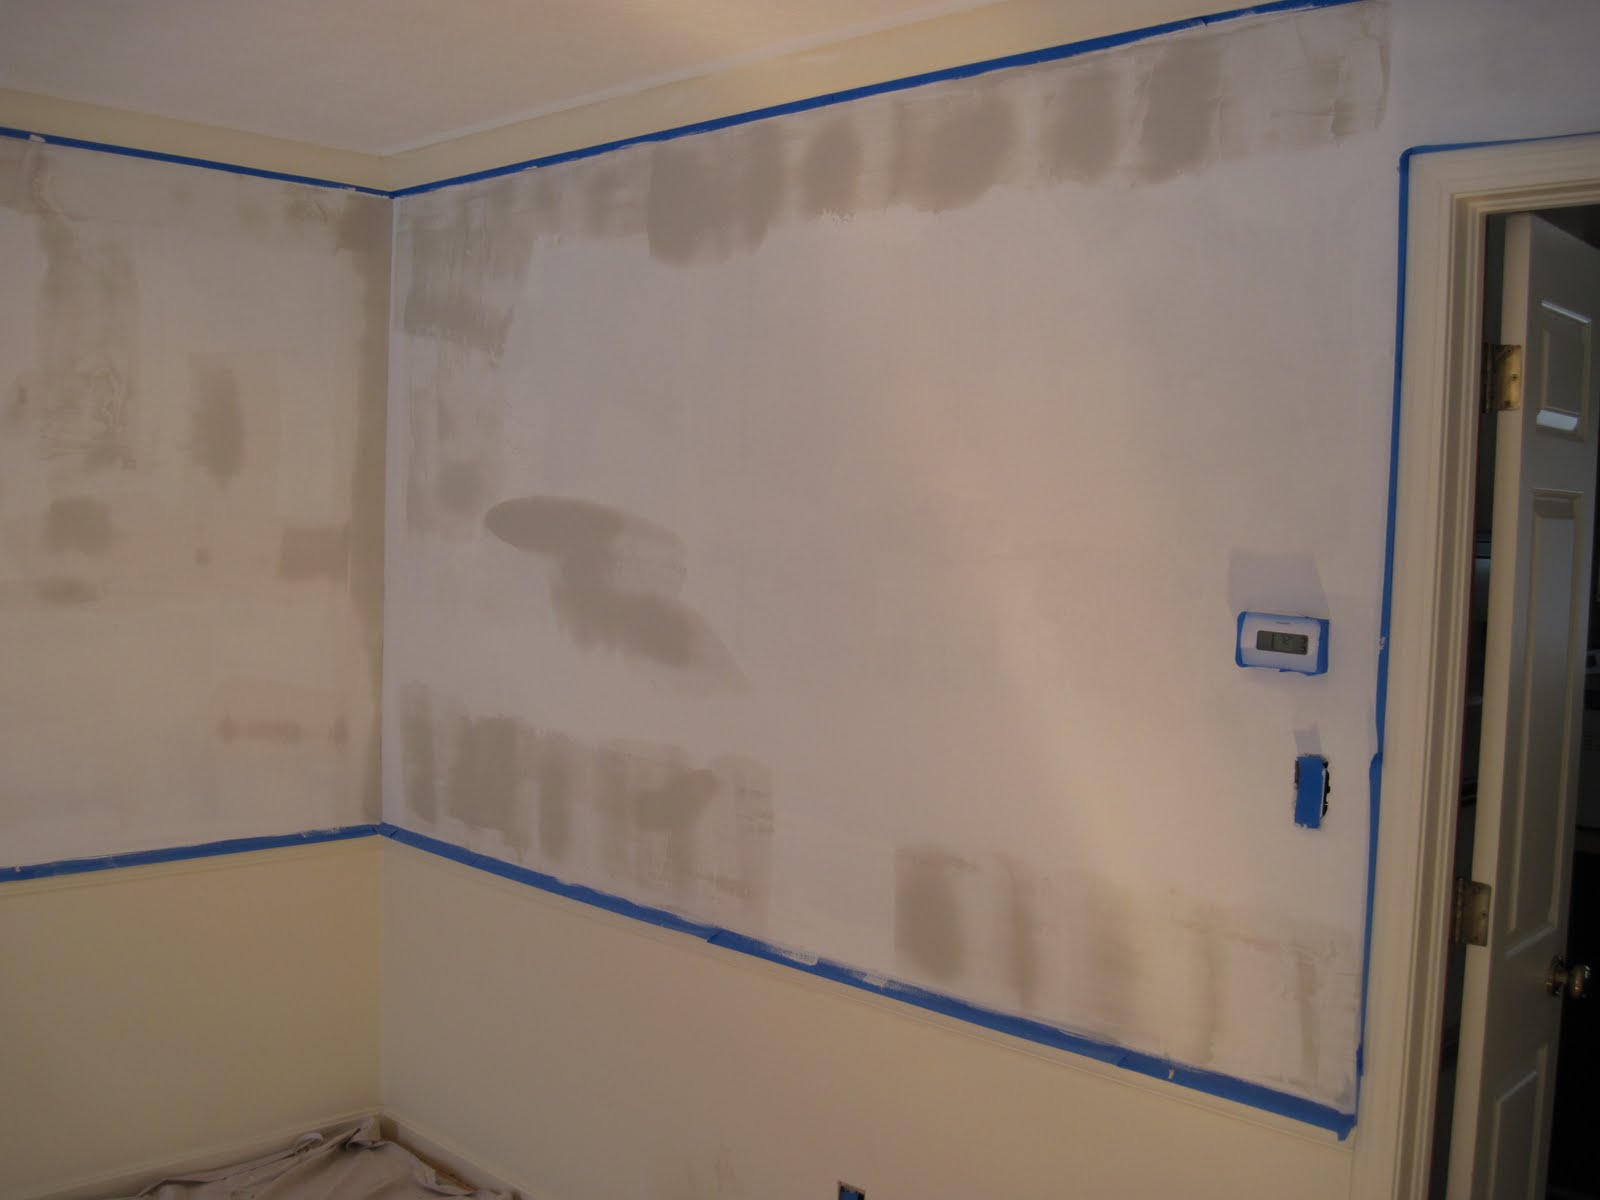
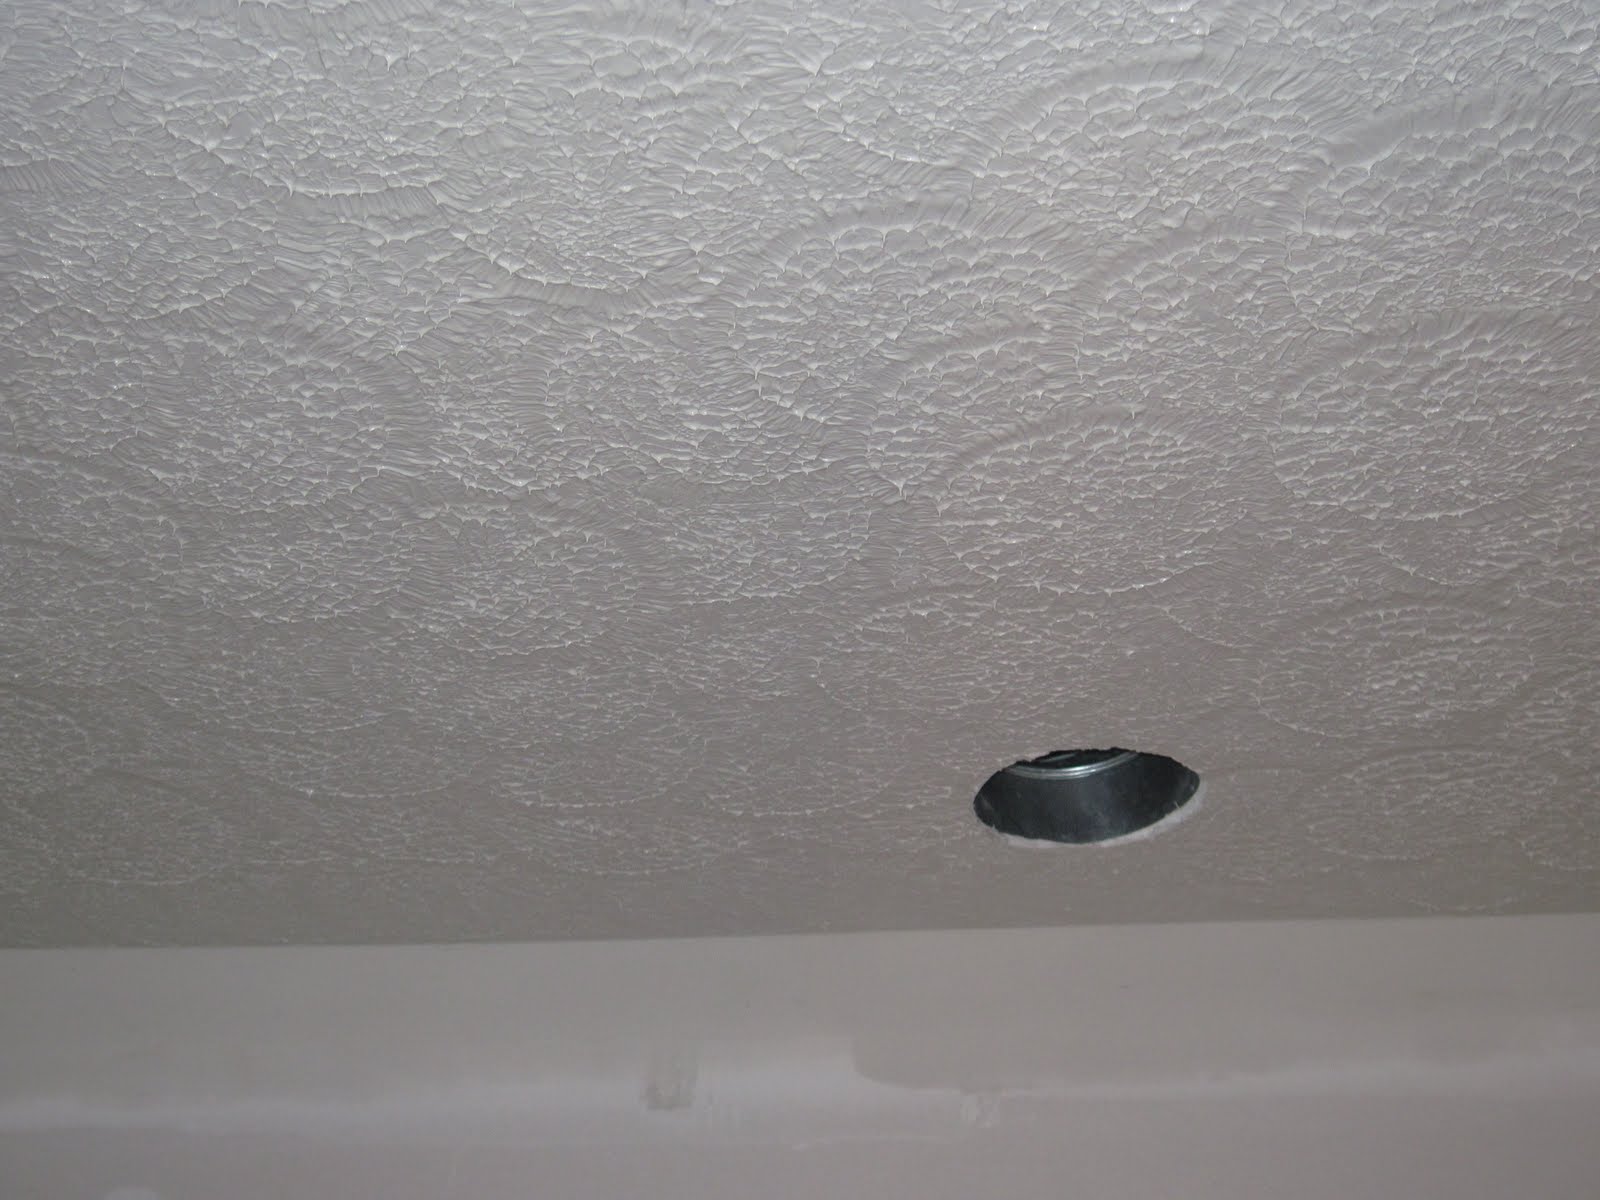
Well since the last room in this old house turned out so nicely we decided to redo the home office and rid our selves of the old dirty carpet. Ever since I've converted this old house into a larger home we have been using a bedroom closet to gain access to the other half of the house. During this remodel we finally have fixed that by doing some repositioning of the closet. The room also had a textured ceiling that is outdated so I went ahead and made the ceilings smooth matching the rest of the home. The photo's illustrate the work as it progressed. Enjoy!
Tuesday, March 29, 2011
The old house is three levels and the first half of the first level is in pretty good shape. It is missing insulation though. Rather than gut it or blow it in I am working the insulation into the joist cavities from the second level then redoing the flooring. I got the wife to team up with me and she laid all the tiles on the floor. I mixed mud and did all the cutting of the tiles and running up and down the steps and my legs feel it. Her poor little knees hurt, lol. The photos show how the job went.
Monday, January 17, 2011
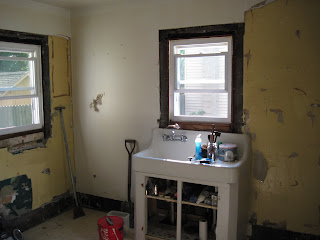
The pictures are of an old kitchen in the home. I am beginning to tear out the old wall structures and flooring in preparation of making this into a full first floor bathroom. The home prior was a multi-family home with 3 kitchens. We are in the process of turning it into a two family home and adding much needed home improvements. The room is 12x10 and no longer served a purpose as a kitchen and another first floor full bathroom was needed. Many more photos will be added as this progress continues forward, so stay tuned in often to watch this transformation.
Read More
Day Two!
Today I removed the antique sink and begun removing portions of the walls. The walls are constructed of wood lathe and plaster. The only major setback to this type of construction is the lack of insulation in the walls. This will all be corrected in the final result. Stay tuned to upcoming progress. Once Mothers Day has passed I will tear down the rest of the room and publish photos.
Day Three
I have continued with the gutting process and now that my dumpster has arrived I can readily move this process faster. The pictures represent the ongoing demolition process this project requires.
The floor in this house is over one hundred years old. I tore out the floor today so I can have total access for my rough ins. The pictures show the progress.
I began working on the kitchen to luxury bath. The winter months seem to always get slow in January so it enables me to get focused back on this remodel project. Once the room was gutted I noticed I had a gas line to terminate and 240v electric that also needed moved.
I put down the 3/4 t&g plywood so I could move onto the next phase.
I also had to rerun some heating duct to the upstairs bathroom that I had completed the previous year.
I had to properly support the flooring joists while keeping everything level.
I went ahead and put up the new sheet rock ceiling.
Ceiling with applied tape coat.
Ceiling with applied bed coat.
I then began building a bathroom closet that will have a bi fold door opening.
Photo of future layout.
Then I put up the moisture resistant board around the area that the garden tub will be mounted. Pictures show the drywall with tape coat applied.
The following photos show the deck framing for the tub. I also had to keep in mind drain placement and tub supply positioning. It's very important to keep the decking level.
Keeping with the project moving forward I went ahead and mounted the drain assembly to the tub.
Stay tuned!!!!
I have finally got all the plumbing completed and tested the drains and supply lines for leaks. All systems go! I began filling in the sub floor knowing I will not have to gain access below. The pictures are of the rough in plumbing.
Now that the plumbing rough in process is completed I went ahead and removed the old door and patched in the wood siding. I also went ahead and did all the rough in electrical wiring.
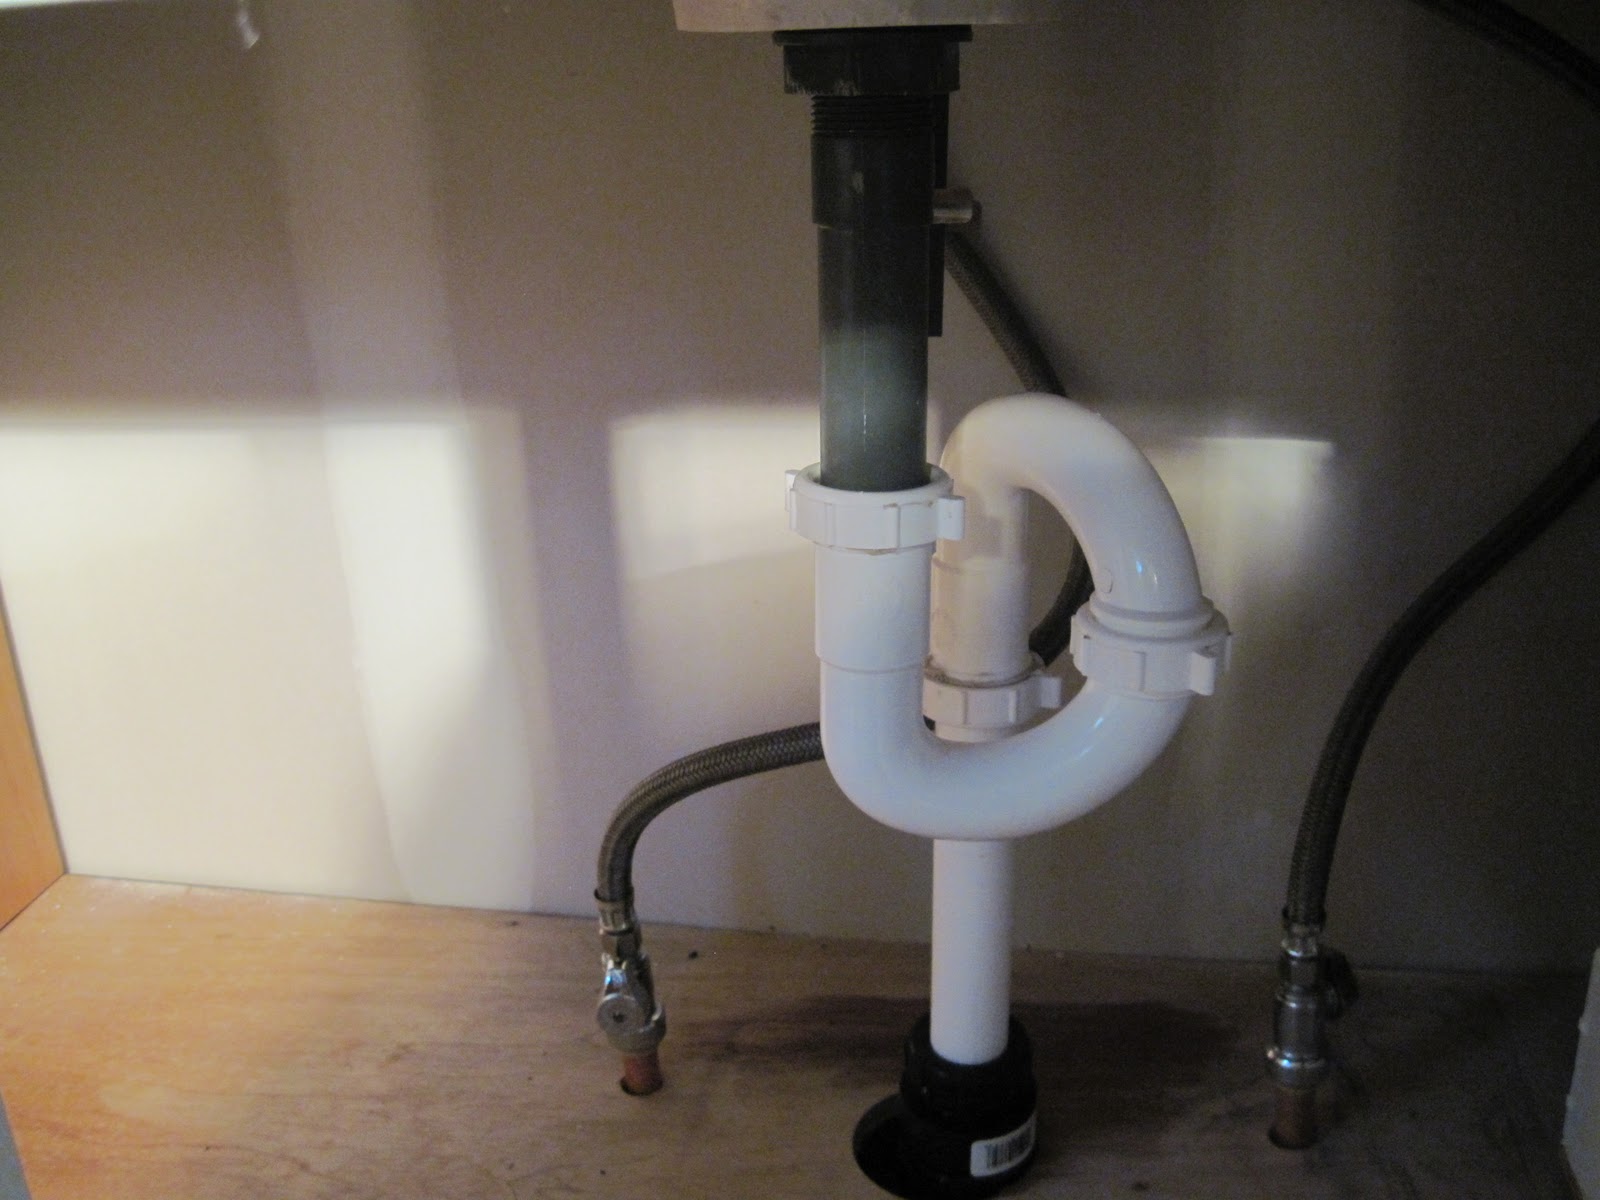
The next set of photo's show the old wall that the door was on enclosed and hung with drywall. I also went ahead and trimmed out the windows. Then I installed the vanity and all the plumbing hardware and tested to make sure there were no leaks. I did utilize some shark bites for my shut off valves. Great invention those things are. The vanity was a stained color that had been all scratched and faded over the years, so I painted it white. I changed the tacky gold hardware for some matching polished chrome. I like the way it turned out.
Some photos of the finished painted ceiling and painted trim around the windows. I also went ahead and installed the bi fold door.
Here are some photos of the finished paint colors I've selected. I went with a smooth ceiling and an off tan color for the walls.
Today I painted the bi fold door. I also installed the gfci outlets and switches as the pictures demonstrate.
Final photos of electrical installations. Added vanity lighting, overhead lighting, and vanity mirror.
Finally got around to tiling the floor. These pictures show the days progress.
Photos of tile with grout complete.
Today with the help of my lovely wife I finally got the tub set and began installing the baseboard molding. Pictures illustrate the work.
Finally.........Here it is.......
BEFORE - 100 YR OLD HOME KITCHEN
AFTER - FULL BATH
PLAY VIDEO TO TAKE A TOUR
I have continued with the gutting process and now that my dumpster has arrived I can readily move this process faster. The pictures represent the ongoing demolition process this project requires.
The floor in this house is over one hundred years old. I tore out the floor today so I can have total access for my rough ins. The pictures show the progress.
I began working on the kitchen to luxury bath. The winter months seem to always get slow in January so it enables me to get focused back on this remodel project. Once the room was gutted I noticed I had a gas line to terminate and 240v electric that also needed moved.
I put down the 3/4 t&g plywood so I could move onto the next phase.
I also had to rerun some heating duct to the upstairs bathroom that I had completed the previous year.
I had to properly support the flooring joists while keeping everything level.
I went ahead and put up the new sheet rock ceiling.
Ceiling with applied tape coat.
Ceiling with applied bed coat.
I then began building a bathroom closet that will have a bi fold door opening.
Photo of future layout.
Then I put up the moisture resistant board around the area that the garden tub will be mounted. Pictures show the drywall with tape coat applied.
The following photos show the deck framing for the tub. I also had to keep in mind drain placement and tub supply positioning. It's very important to keep the decking level.
Keeping with the project moving forward I went ahead and mounted the drain assembly to the tub.
Stay tuned!!!!
I have finally got all the plumbing completed and tested the drains and supply lines for leaks. All systems go! I began filling in the sub floor knowing I will not have to gain access below. The pictures are of the rough in plumbing.
Now that the plumbing rough in process is completed I went ahead and removed the old door and patched in the wood siding. I also went ahead and did all the rough in electrical wiring.
The next set of photo's show the old wall that the door was on enclosed and hung with drywall. I also went ahead and trimmed out the windows. Then I installed the vanity and all the plumbing hardware and tested to make sure there were no leaks. I did utilize some shark bites for my shut off valves. Great invention those things are. The vanity was a stained color that had been all scratched and faded over the years, so I painted it white. I changed the tacky gold hardware for some matching polished chrome. I like the way it turned out.
Some photos of the finished painted ceiling and painted trim around the windows. I also went ahead and installed the bi fold door.
Here are some photos of the finished paint colors I've selected. I went with a smooth ceiling and an off tan color for the walls.
Today I painted the bi fold door. I also installed the gfci outlets and switches as the pictures demonstrate.
Final photos of electrical installations. Added vanity lighting, overhead lighting, and vanity mirror.
Finally got around to tiling the floor. These pictures show the days progress.
Photos of tile with grout complete.
Today with the help of my lovely wife I finally got the tub set and began installing the baseboard molding. Pictures illustrate the work.
Finally.........Here it is.......
BEFORE - 100 YR OLD HOME KITCHEN
AFTER - FULL BATH
PLAY VIDEO TO TAKE A TOUR
Subscribe to:
Posts (Atom)