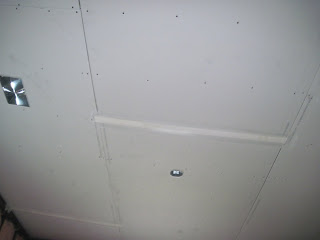
Today I began installing the electric work boxes and hung the new drywall ceiling and taped coated it. The pictures show my current progress.


Today I built the walls for the utility room. I plan on hanging two twenty four inch bi fold doors at the opening. The pictures illustrate my progress.
Continued forward with the wiring and drywall stage. I also had to frame in a opening for a 32" door. Photos illustrate current progress.
Today I applied the bed coat. The bed coat is the first coat applied after tape. Depending how neatly you are able to apply this coat has benefits when it comes to sanding time. I also hung a ceiling fan in our office. I snagged the fan on clearance. Photos illustrate my progress thus far.
Photos of drywall finished next phase will be priming and painting.
Got around to painting. I added some color to this old home seeing how most of the rooms are tones of brown. We brightened this room up using a cucumber green and a harvest yellow.
Finalized electrical. Installed a light fixture and a ceiling fan with light fixture.
Today I installed the bi fold doors and gave both doors and both bi folds a fresh coat of paint.
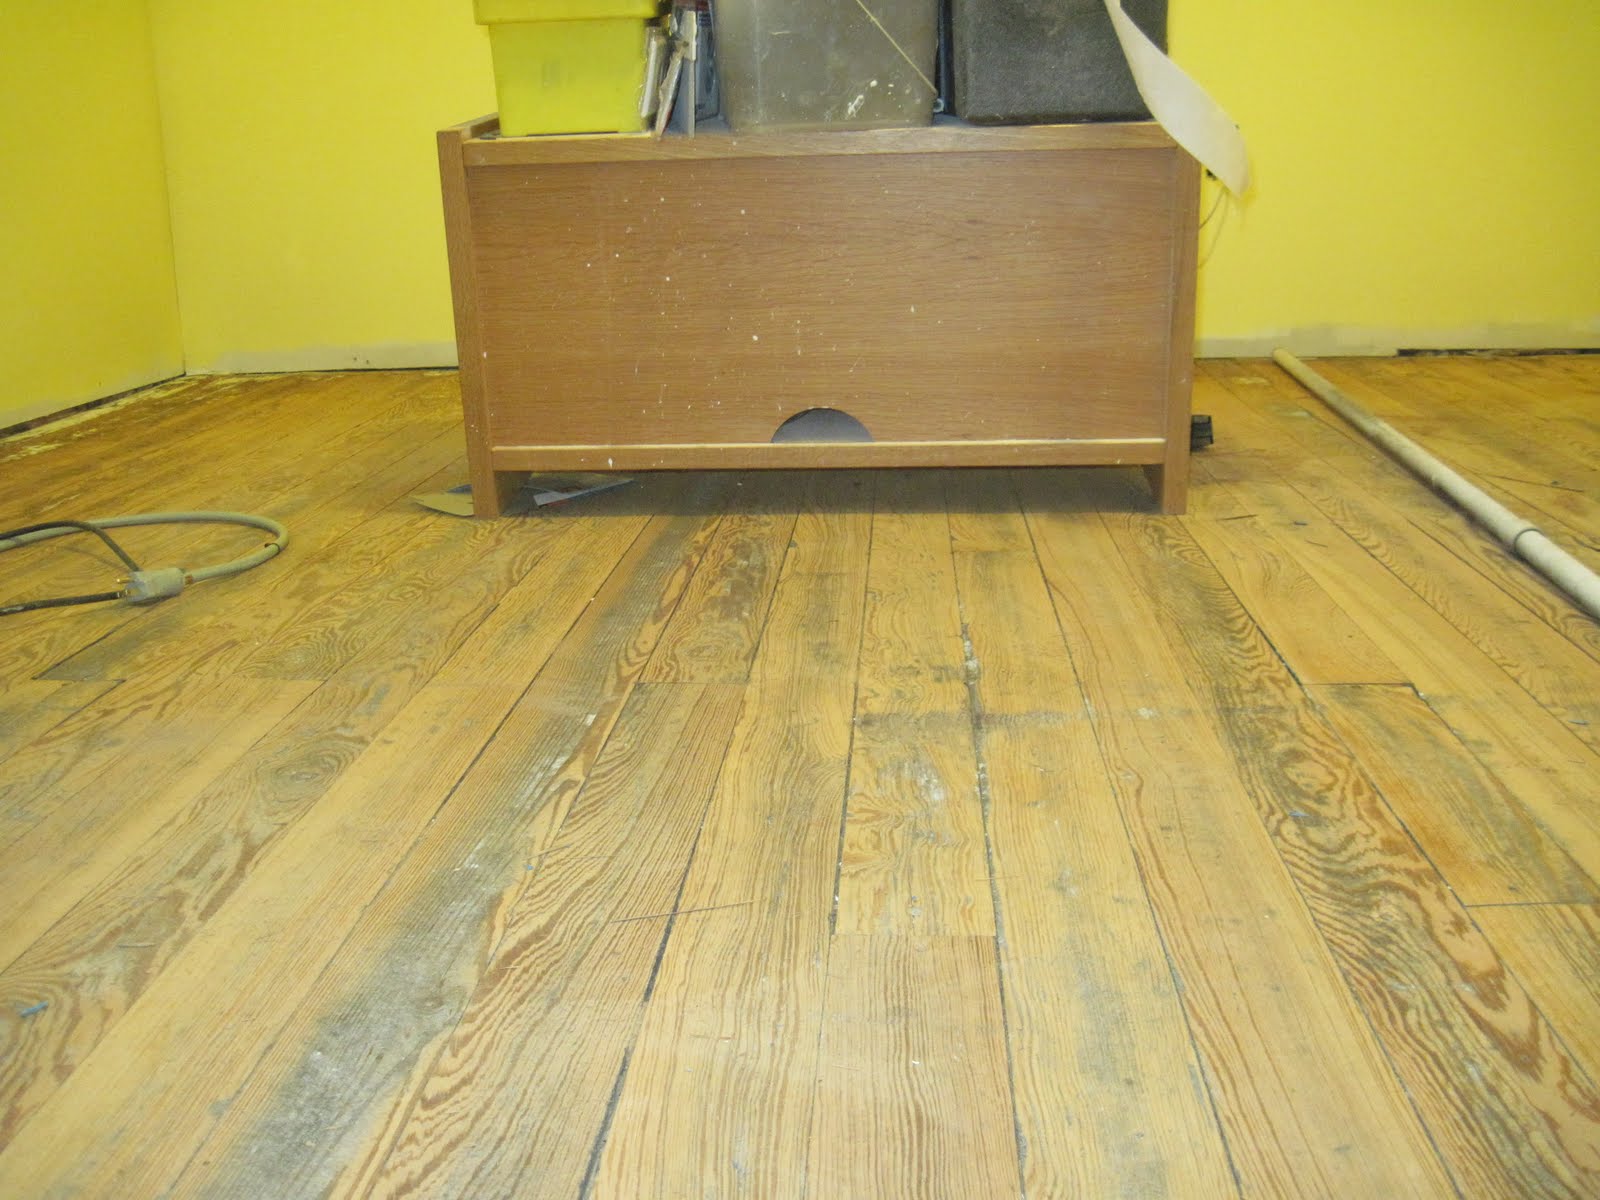
The wife and I figured we would try something different for this room. The home is a century home and we are going to attempt to restore the hard wood floors. Back in the day I guess they used to paint around the edges of the room and then lay an area rug in the middle. I am having a difficult time removing this one hundred year old paint from the floor. The pictures show my long hard days work.
And almost completed
Finally got time to concentrate back on this upstairs bedroom. Tonight I did all the wood putty on the floors and sanded it, so now the floor is ready for stain. I also installed carpet in the utility room and put the bi fold doors back up. Photos illustrate this evenings work.
This morning we began staining the floor. We selected a red mahogany hoping it will hide the one hundred year old imperfections.
Final flooring photo with poly urethane added. We are pleased with how this turned out this was our first floor refinish job. We have learned a great detail about this type of work and look forward to the future floors in this house that we will refinish. The floor did not turn out immaculate but the wife and I both agreed it definitely has the distressed look. The floor is not too shabby for being more than one hundred years old. Next phase will be adding the trim and window blinds. Enjoy
Today I spent the day trimming the upstairs bedroom. I went with standard3 1/4 for the utility room. I spiced it up with larger trim for the bedroom. I still need to caulk and fill all the nail holes and do some minor wood work repair to the windows. Then it will be time for painting final coats on everything and calling this room complete. Oh I also have to put up some wire shelving in the
washer dryer room for the dear wife for laundry detergent and what knots. Stay tuned.
 |
| Hey guys wheres my rugs? |
Final Photo


3 comments:
Wow! Big project!!
Thanks for participating in the Good Friends Click Blog Hop! I'm already following you, just stopping by to say hi.
Janel
http://www.amomstake.com
Hi, friend! I'm admiring all your creative posts here so can you please share them with us at the Creative Bloggers' Party & Hop? Hope to see you there at the party :)
Love it! I have a similar bedroom and it seems like I'm never gonna find the time to redo!
Post a Comment