Wallpaper Job  Shower and floor tile job Personal Office Reno
Showing posts with label drywall. Show all posts

Friday, January 11, 2013

Day One
Today I began removing the drywall laminated over plaster and wood lathe.  I am going to remove the steps going upstairs and make the room more spacious.  The photos show the start of this process.


Day Two
Today I finished demolishing the living room.  I began removing the steps leading upstairs.  I am going to have to re-support the existing floor joists for the upstairs.  There was a lot of wasted space in the stairwell.  I will end up utilizing this space more.  The photo's show my current progress.
Day Three
The demo is complete and the stairs came down relatively easy.  Now for the last room on the list and that lies upstairs.  Stay tuned the rough in plumbing will begin shortly.  I am going to add some floor joists in the basement and jack the house up a tad.  I also am going to re-support the upstairs floor with more floor joists so the plumbing will not begin to take place until later next week.
Day Four
I reinforced the floor upstairs in the voided space where the steps used to be. I doubled up the joists because I plan on putting a washer and dryer upstairs on this floor.   I tore down some non supporting walls in order to make these rooms have a more open floor plan.  I removed an upstairs closet and opened up the room a few of the pictures show the closet after removal.  I then used 3/4" tongue and groove plywood for my sub-flooring.  This project is a lot of work for a one man working crew, so I may be due a day off, lol.  The jobsite is in serious need of a clean up, so I may take a day and get things in better order before pushing forward.  The pictures show the changes and where I am at today with this project.
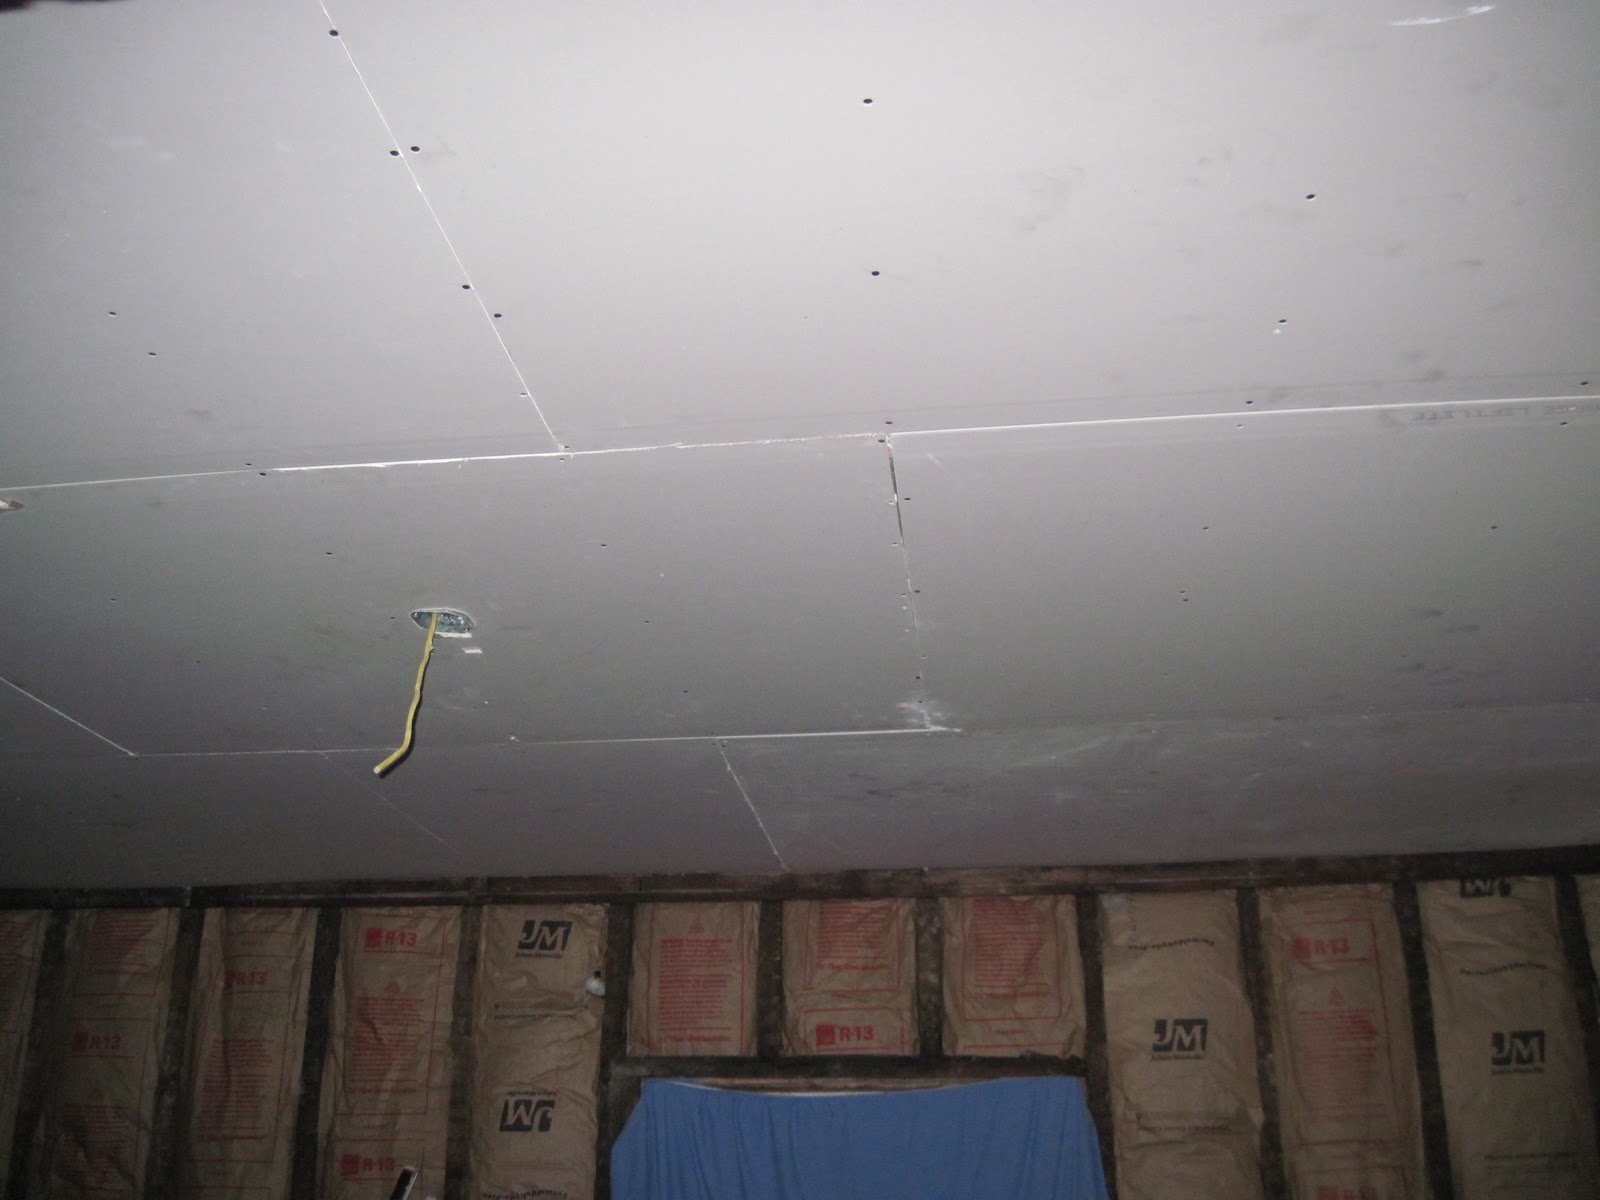
Well its a year later and time to finish up some old projects that are still waiting to be completed.  So in preparation I finally put up the drywall ceiling in the living room.  I can only do the ceiling currently because I still have to wire the wall outlets.  With winter approaching I figured it would help with the heating costs.


Today I finished hanging the ceiling and being this is such an old home everything did.t work out real square.  I also included a few photos of the beginning coats on the bad butt joints.


I have finally finished the drywall stage of the downstairs living room.  The home has an old chimney that I've left exposed.  The chimney had some serious settling issues where it penetrates the second floor so I had to dress it up with some drywall and corner bead so you couldn't notice how off center it was.  More pictures will soon follow.  The rough electrical is also finished in this room.


Read More
Day One
Seeings how the kitchen to bath demolition is complete I began demolition on the dining room.  The photo's show the current progress of this process.  My dumpster will be emptied today and tomorrow I will finish the demolition.  Stay tuned. 


Read More

Wednesday, November 30, 2011

The current job had textured ceilings throughout the house.  The homeowner purchased this property and has begun major renovations.  The homeowner wanted all his ceilings made smooth to go with the modern flow of the renovation.  That is where I come in.  My task is handling all the choppy drywall work and straightening the walls and perfecting the ceilings.  We began by scraping off a rough texture and applying several smooth skim coats.  The pictures are of the current progress.


The following photos show the finished sanded work.  The job is now ready for prime and paint and trim.  More photos will follow later.


Read More

Monday, October 17, 2011

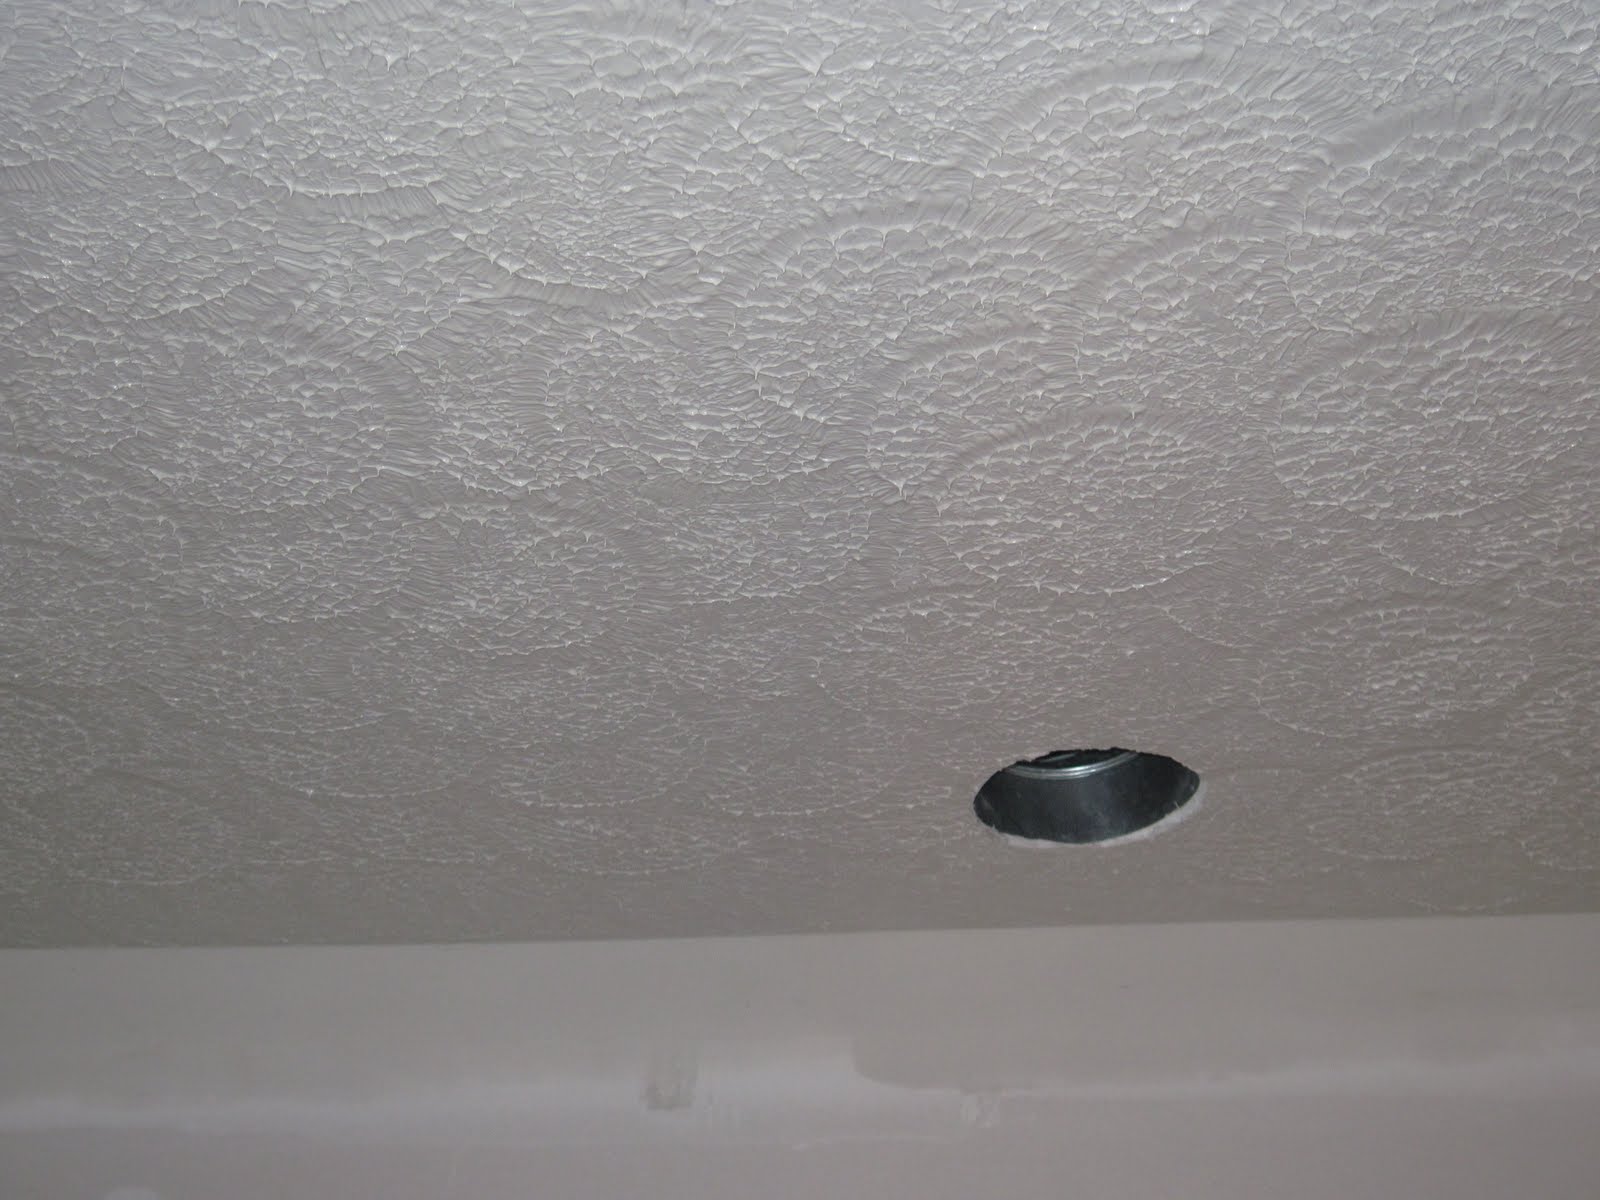
I tore out acoustical ceiling tile and am adding a drywall ceiling which will have a knock down ceiling when finished.


Photos illustrate a knock down texture.  I also added the trim molding.  These are the final pictures.


Read More