


Day Two!
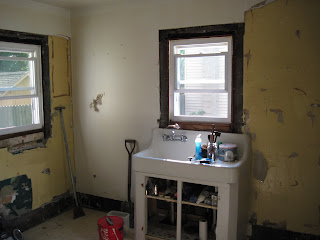
Today I removed the antique sink and begun removing portions of the walls. The walls are constructed of wood lathe and plaster. The only major setback to this type of construction is the lack of insulation in the walls. This will all be corrected in the final result. Stay tuned to upcoming progress. Once Mothers Day has passed I will tear down the rest of the room and publish photos.


Day Three
I have continued with the gutting process and now that my dumpster has arrived I can readily move this process faster. The pictures represent the ongoing demolition process this project requires.


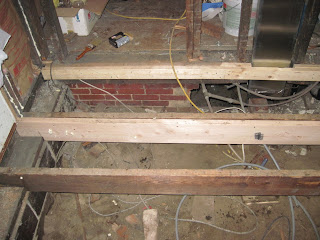
 The floor in this house is over one hundred years old. I tore out the floor today so I can have total access for my rough ins. The pictures show the progress.


 I began working on the kitchen to luxury bath. The winter months seem to always get slow in January so it enables me to get focused back on this remodel project. Once the room was gutted I noticed I had a gas line to terminate and 240v electric that also needed moved.

 I put down the 3/4 t&g plywood so I could move onto the next phase.
 I also had to rerun some heating duct to the upstairs bathroom that I had completed the previous year.
 I had to properly support the flooring joists while keeping everything level.

 I went ahead and put up the new sheet rock ceiling.
 Ceiling with applied tape coat.
 Ceiling with applied bed coat.
 I then began building a bathroom closet that will have a bi fold door opening.


 Photo of future layout.
 Then I put up the moisture resistant board around the area that the garden tub will be mounted. Pictures show the drywall with tape coat applied.


 The following photos show the deck framing for the tub. I also had to keep in mind drain placement and tub supply positioning. It's very important to keep the decking level.


 Keeping with the project moving forward I went ahead and mounted the drain assembly to the tub.


 Stay tuned!!!!
I have finally got all the plumbing completed and tested the drains and supply lines for leaks. All systems go! I began filling in the sub floor knowing I will not have to gain access below. The pictures are of the rough in plumbing.


 Now that the plumbing rough in process is completed I went ahead and removed the old door and patched in the wood siding. I also went ahead and did all the rough in electrical wiring.


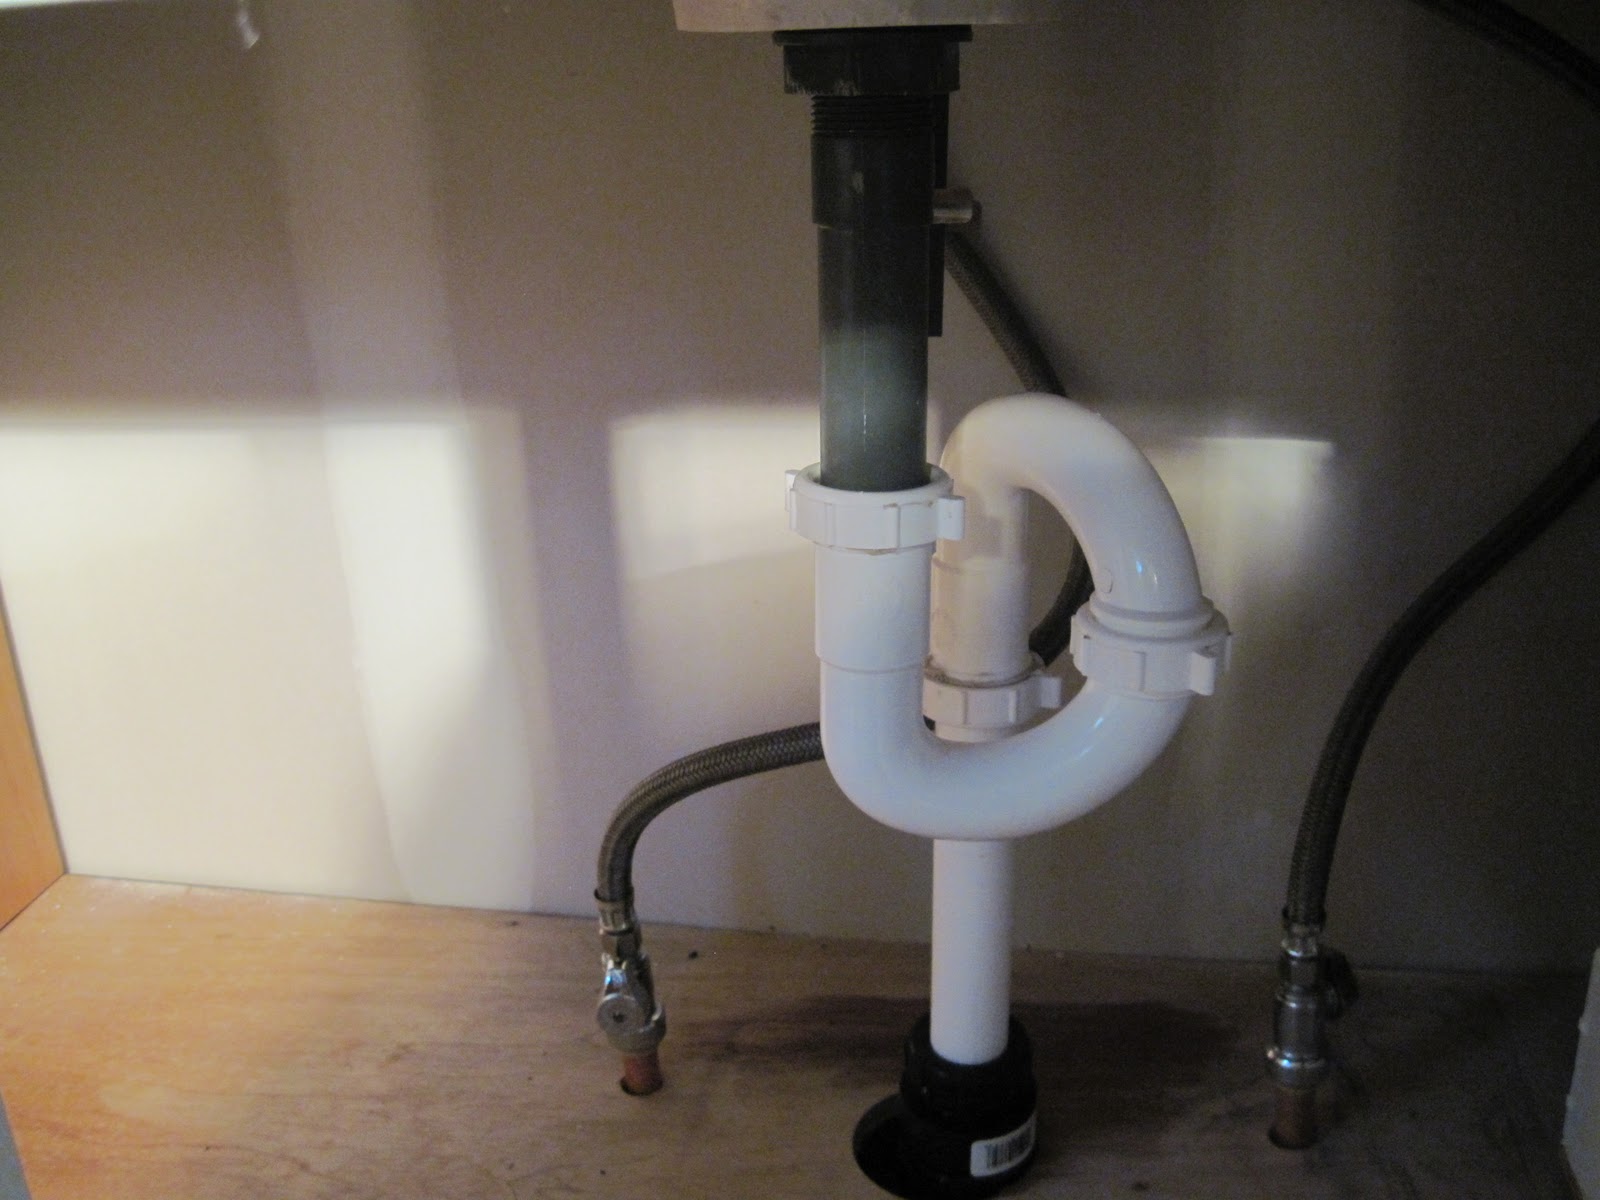
 The next set of photo's show the old wall that the door was on enclosed and hung with drywall. I also went ahead and trimmed out the windows. Then I installed the vanity and all the plumbing hardware and tested to make sure there were no leaks. I did utilize some shark bites for my shut off valves. Great invention those things are. The vanity was a stained color that had been all scratched and faded over the years, so I painted it white. I changed the tacky gold hardware for some matching polished chrome. I like the way it turned out.


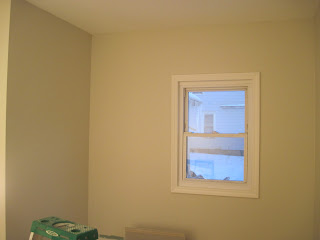
Some photos of the finished painted ceiling and painted trim around the windows. I also went ahead and installed the bi fold door.


Here are some photos of the finished paint colors I've selected. I went with a smooth ceiling and an off tan color for the walls.


 Today I painted the bi fold door. I also installed the gfci outlets and switches as the pictures demonstrate.


 Final photos of electrical installations. Added vanity lighting, overhead lighting, and vanity mirror.


 Finally got around to tiling the floor. These pictures show the days progress.


 Photos of tile with grout complete.

 Today with the help of my lovely wife I finally got the tub set and began installing the baseboard molding. Pictures illustrate the work.


Finally.........Here it is.......
BEFORE - 100 YR OLD HOME KITCHEN
AFTER - FULL BATH
PLAY VIDEO TO TAKE A TOUR
I have continued with the gutting process and now that my dumpster has arrived I can readily move this process faster. The pictures represent the ongoing demolition process this project requires.


I have finally got all the plumbing completed and tested the drains and supply lines for leaks. All systems go! I began filling in the sub floor knowing I will not have to gain access below. The pictures are of the rough in plumbing.


Some photos of the finished painted ceiling and painted trim around the windows. I also went ahead and installed the bi fold door.


Here are some photos of the finished paint colors I've selected. I went with a smooth ceiling and an off tan color for the walls.


Finally.........Here it is.......
BEFORE - 100 YR OLD HOME KITCHEN
AFTER - FULL BATH
PLAY VIDEO TO TAKE A TOUR


3 comments:
hi! I just found your blog today. you put a LOT of work into these posts - I love seeing the transitions. -diane
http://www.sweeteuropeandreams.com
well since I had the luxury of seeing it before u worked on it I have to say 500% improvment looks great
Dad
WOW--what a huge project.
You entered this into my "Its a Tape Party" and I think you meant to add it into my weekly party.
Cheri
Post a Comment