
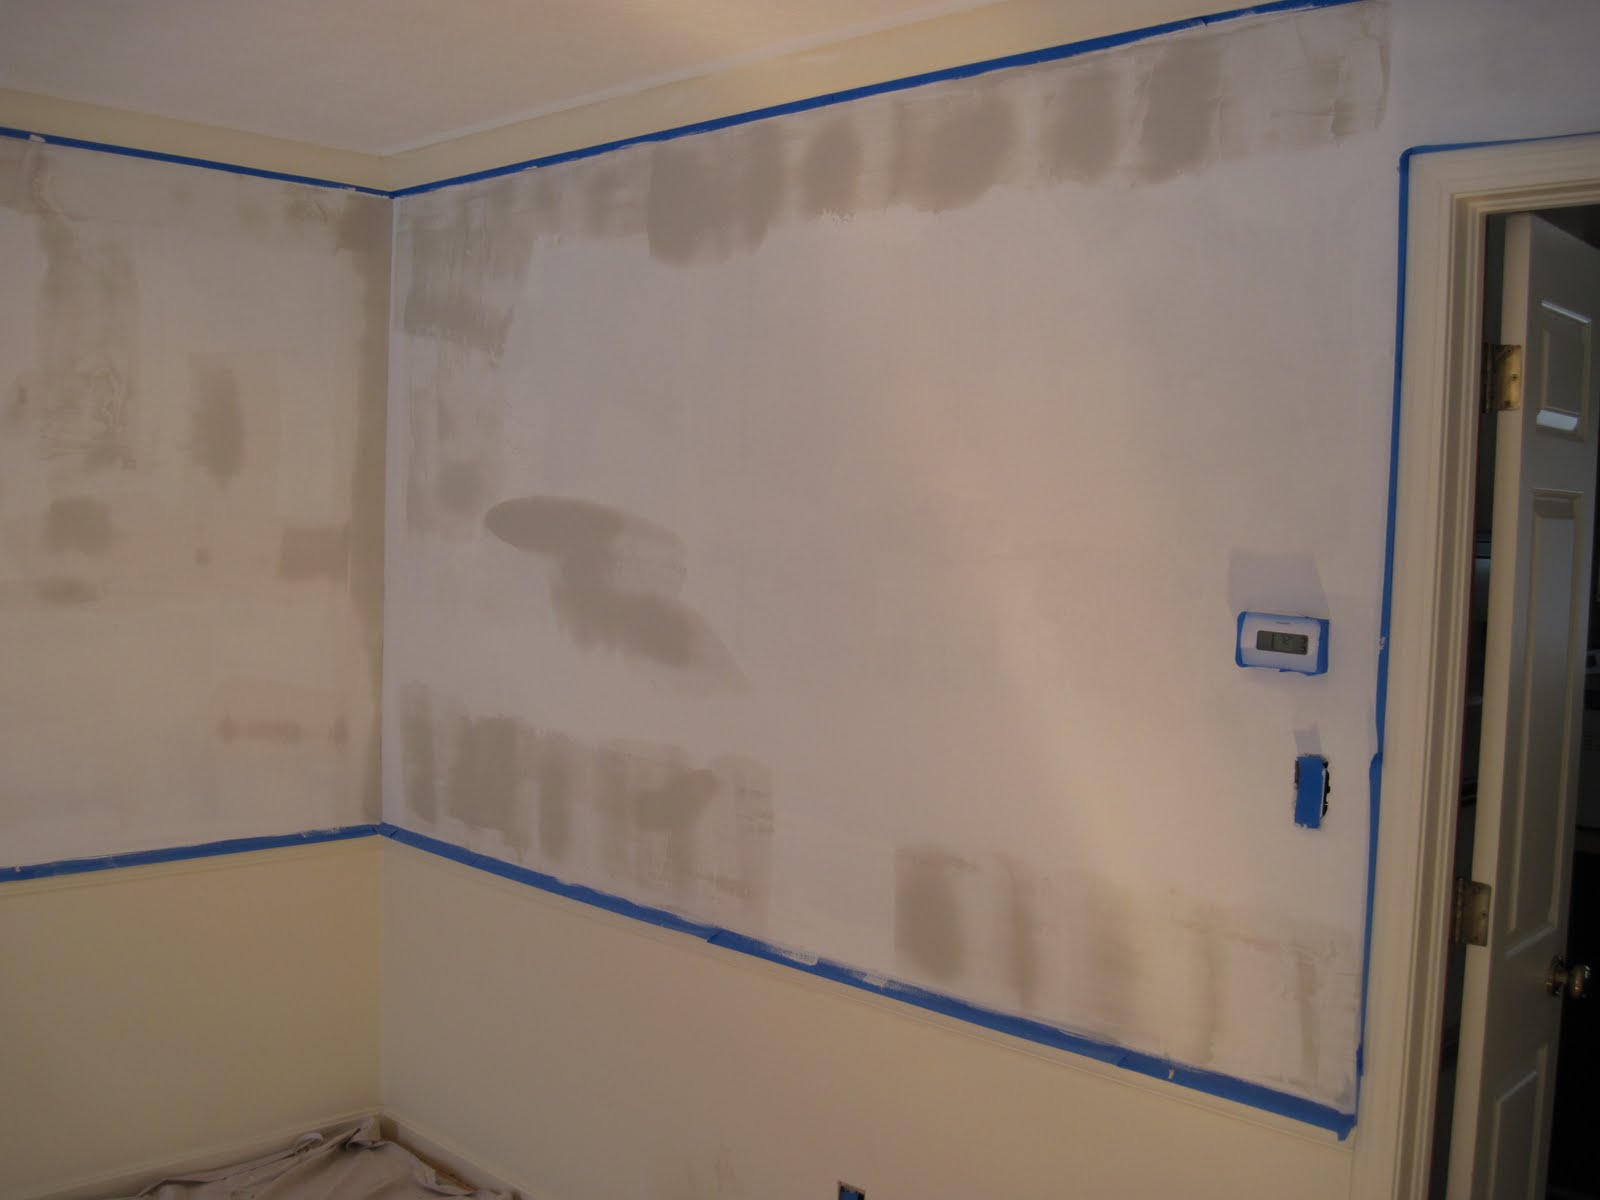
Seeings how our new found love is old hardwood floors refinished the wife and I decided to go ahead and finish the upstairs of this old house. The pictures show the during and final with poly urethane added. The old floor had some old dirty carpet and underneath someone had painted the wood floors blue. We also decided to tile the entrance way based upon the climate we live in. We get some heavy winters here and hard wood floors with snowy boots didn't make a lot of sense to us. So we added some porcelain tile to the mix. We also cut parts of the floor up in order to insulate the ceiling cavity. The home is ballooned framed and for those of you that understand what that means there is a constant air draft running through the framing and joist cavities. The house also is heated by three furnaces so everything we are doing to this old home is for efficiency standards. I will be adding some trim to accent the areas around the tile and also the area that enters into the kitchen. We may decide to stain all the other pine trim in the room, but for now we deserve a much needed rest.


